JobAdder (OAuth Client Credentials)
Follow these steps to connect JobAdder (OAuth Client Credentials) with Gaia successfully.
Written By gaia
Create your Client ID and Client Secret
1
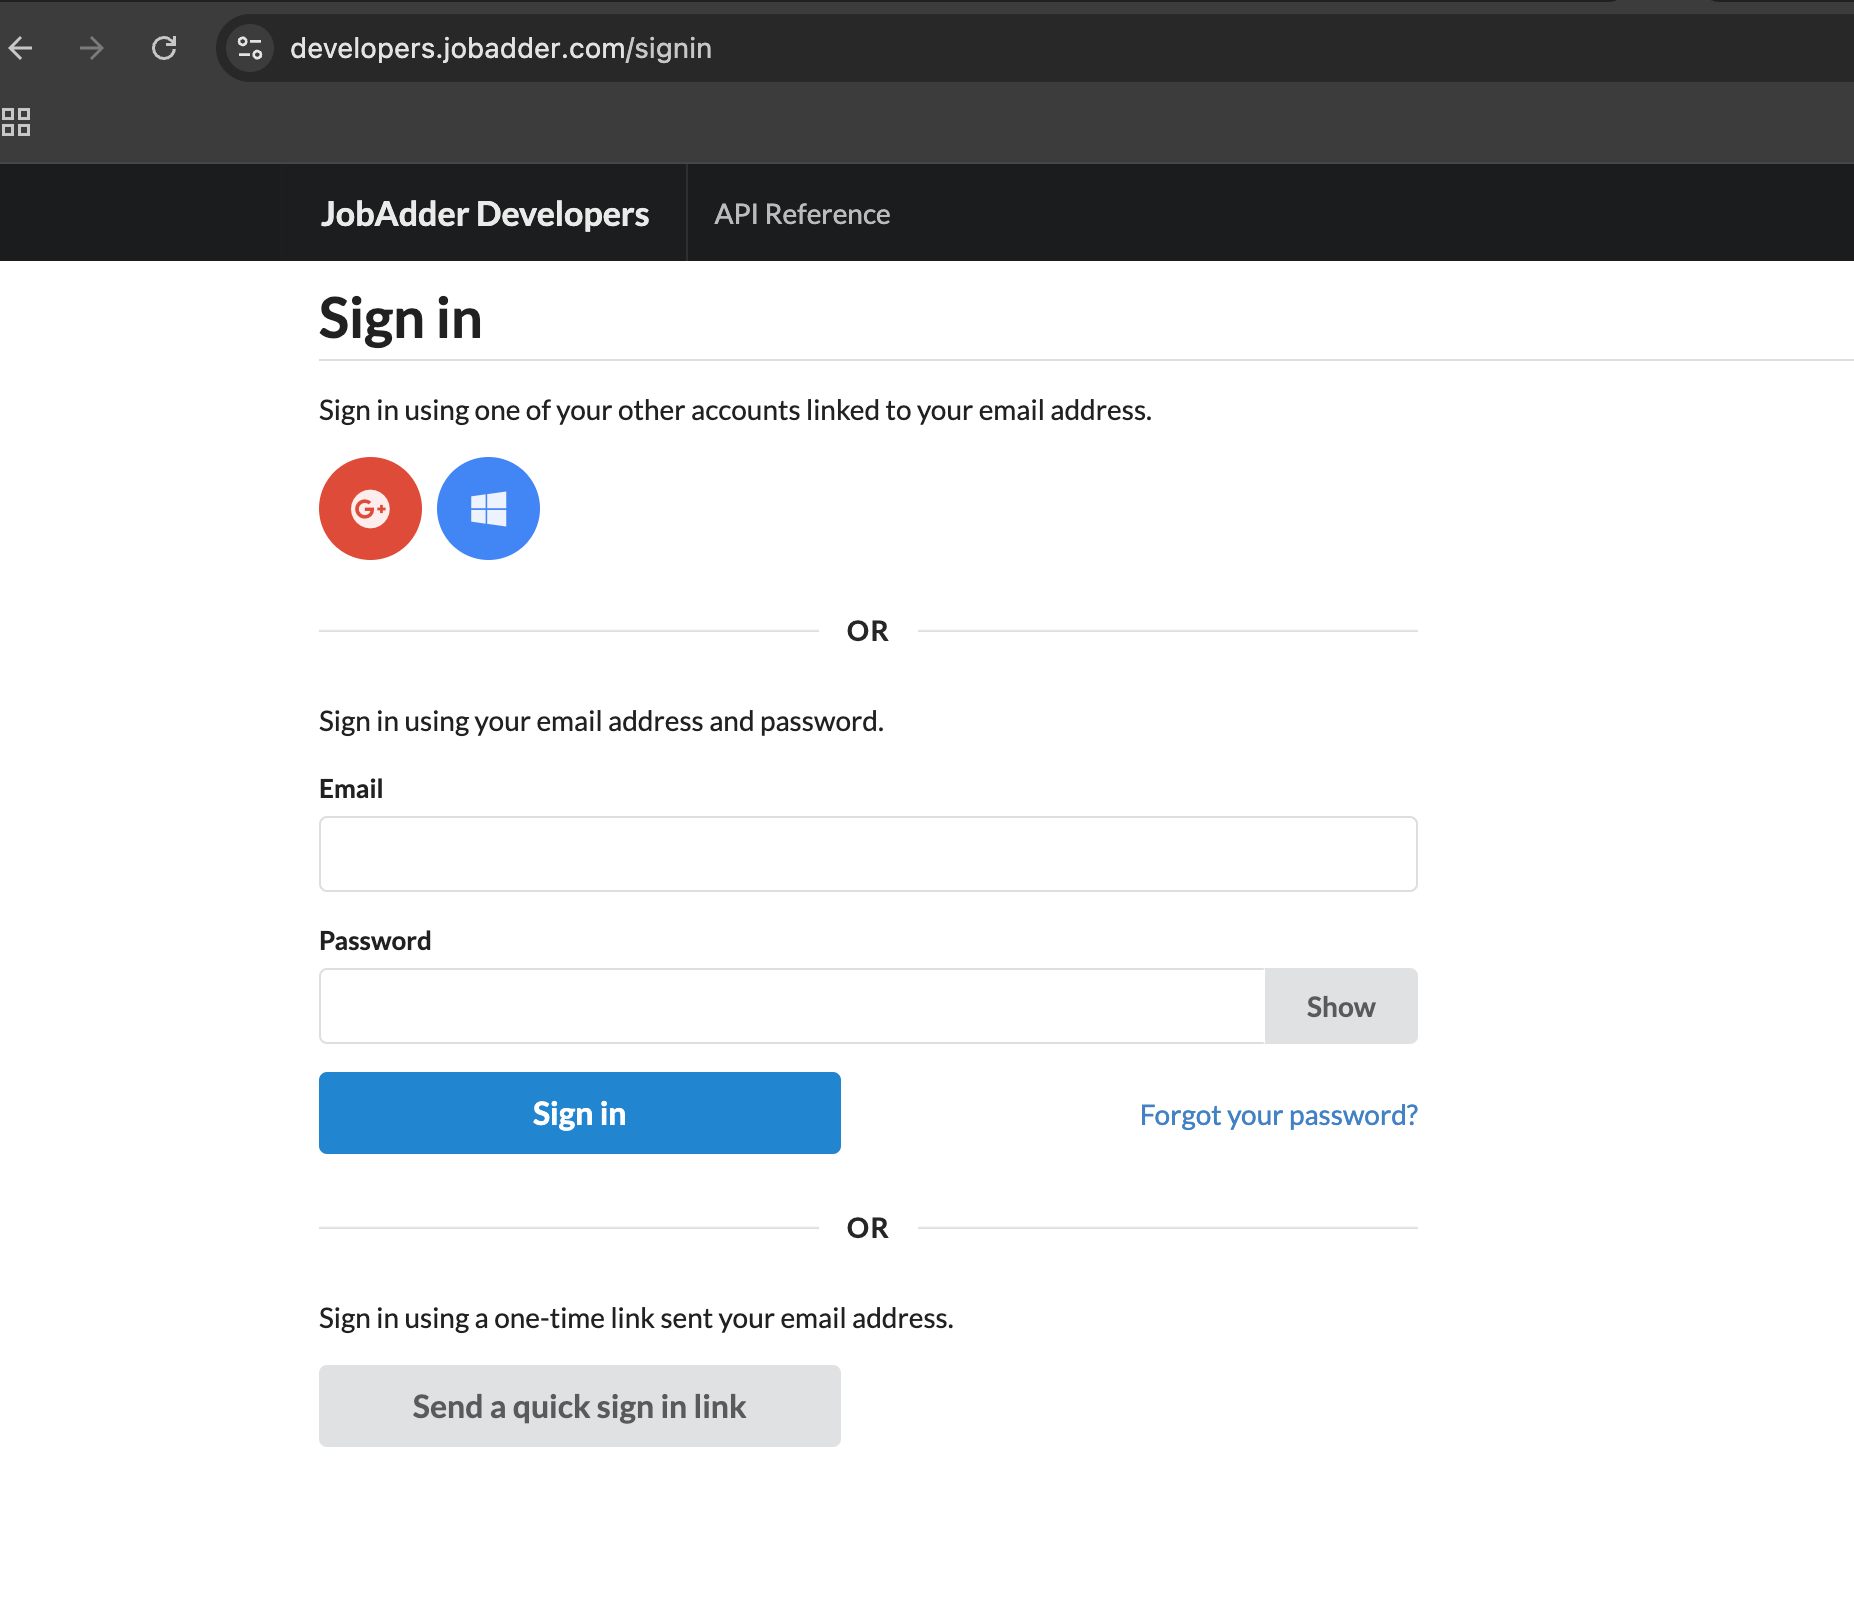
Login to Developer Portal
Go to the JobAdder Developer Portal and log in with your account.
If you don’t yet have an account, create one by following the registration process.
2
Register a New Application
Click Register a New Application to create a new application.
3
Configure the Application Details
Enter the application details and then click the Create button:
Application Name: e.g. Gaia via StackOne
Redirect URL:
https://api.stackone.com/connect/oauth2/jobadder/callbackPrivacy URL: e.g.
https://www.stackone.com/terms/privacy-policy
Submit the form by clicking Register Application.

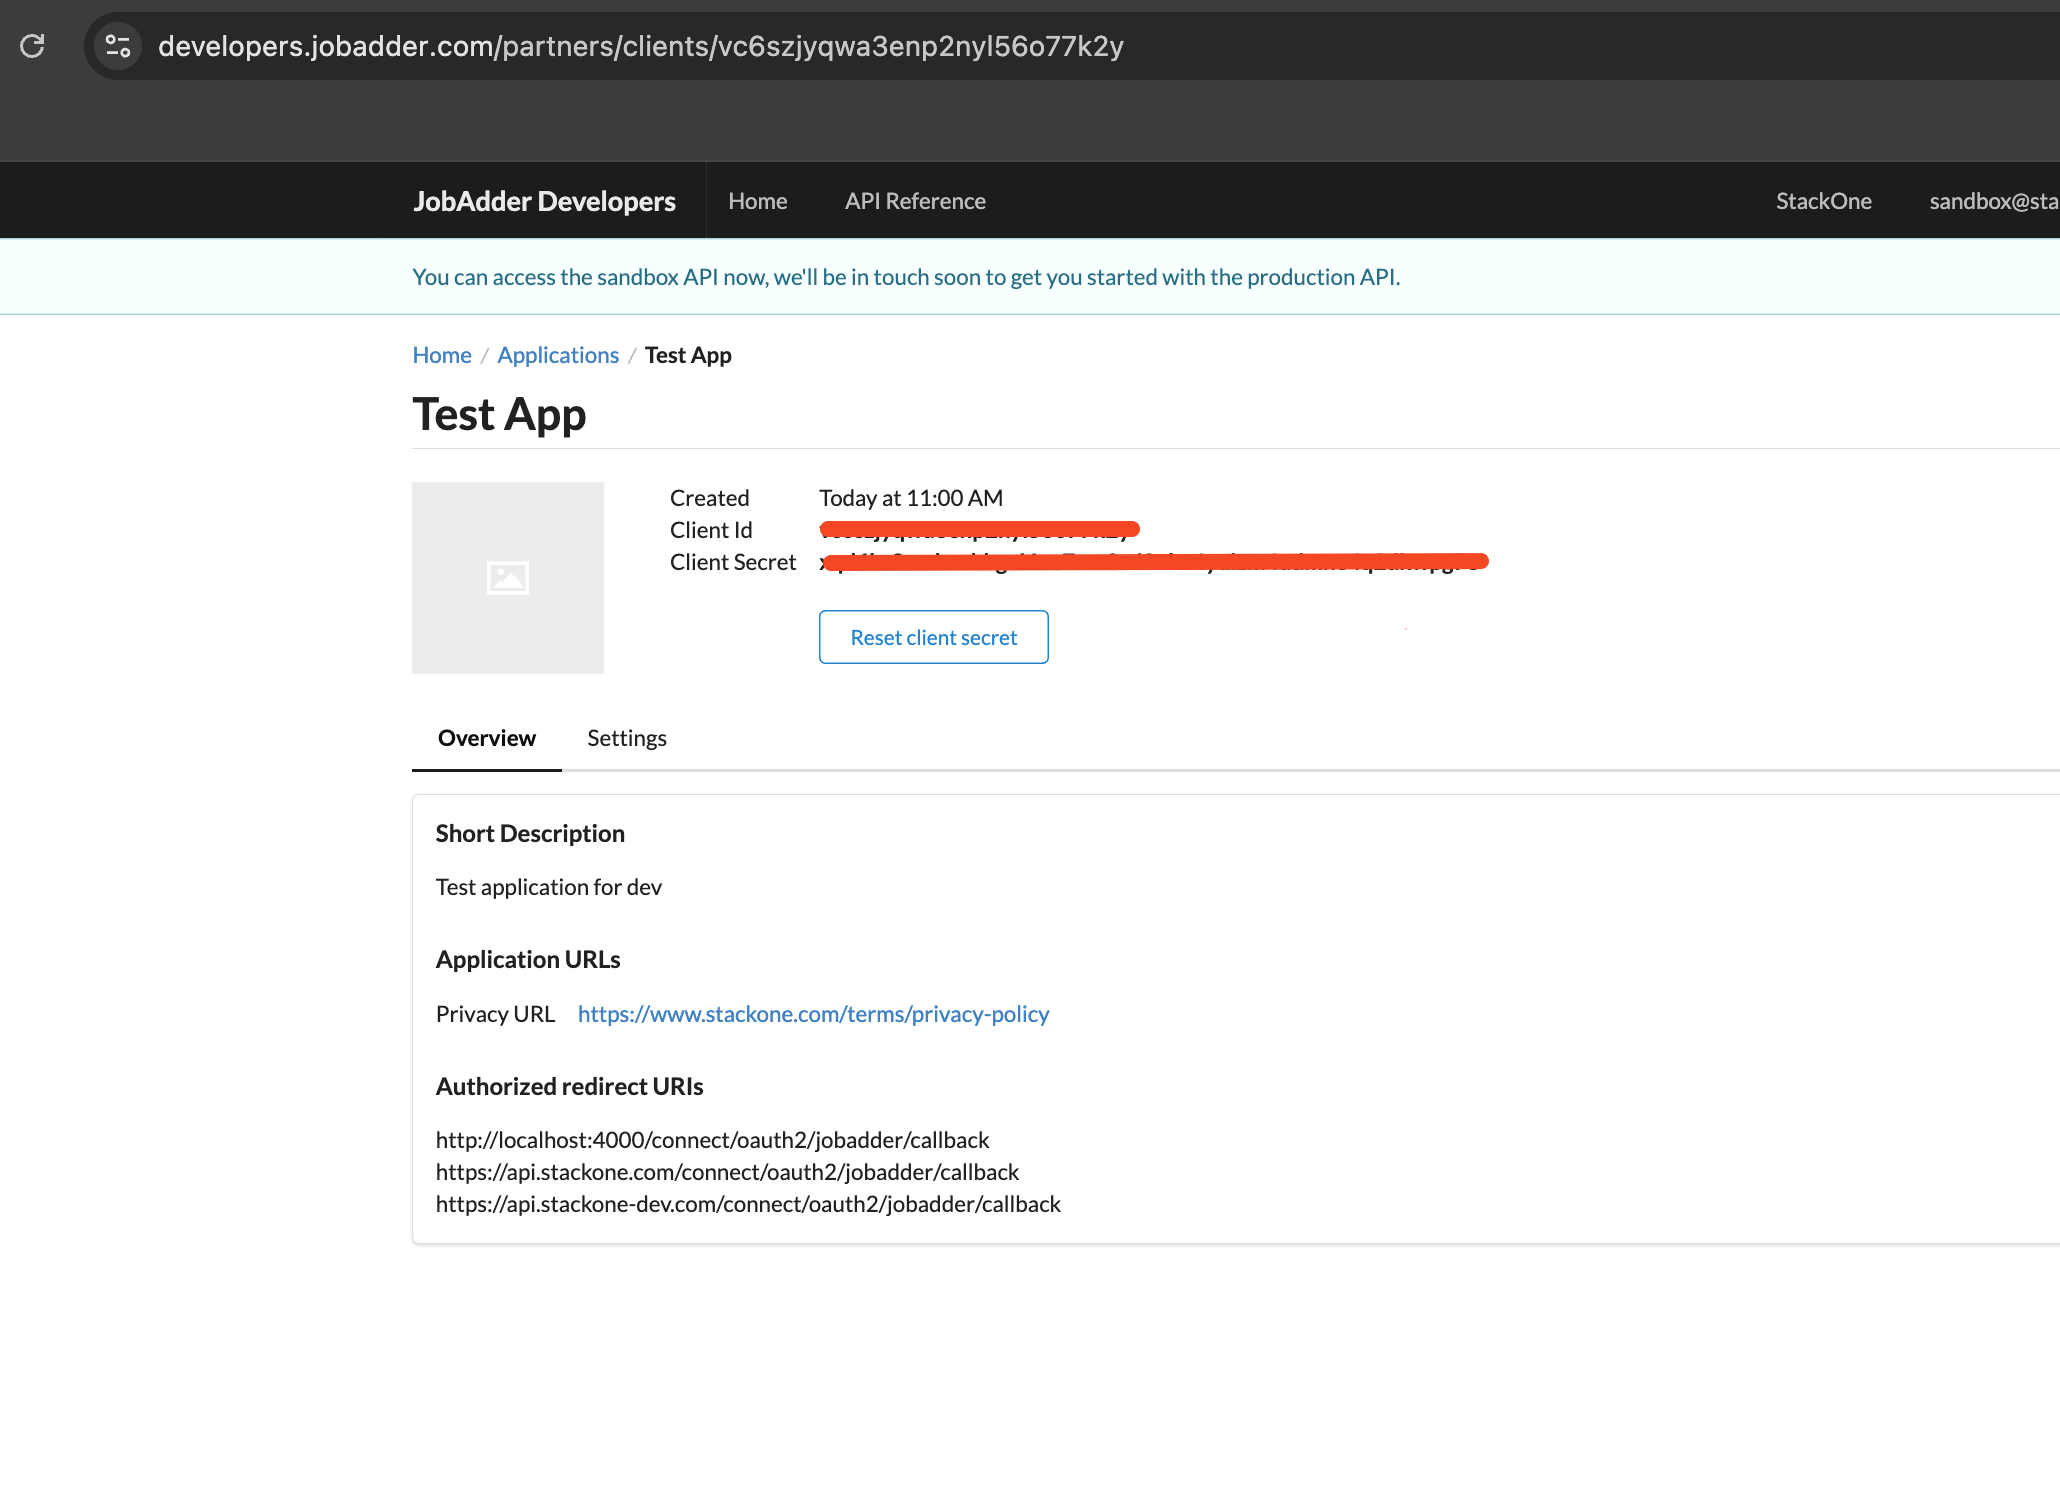
4
Retrieve Client ID and Client Secret
You will now see the Client ID and Client Secret. Copy and store them securely.
You can also access them at any time from your developer account.
Connecting with Gaia
1
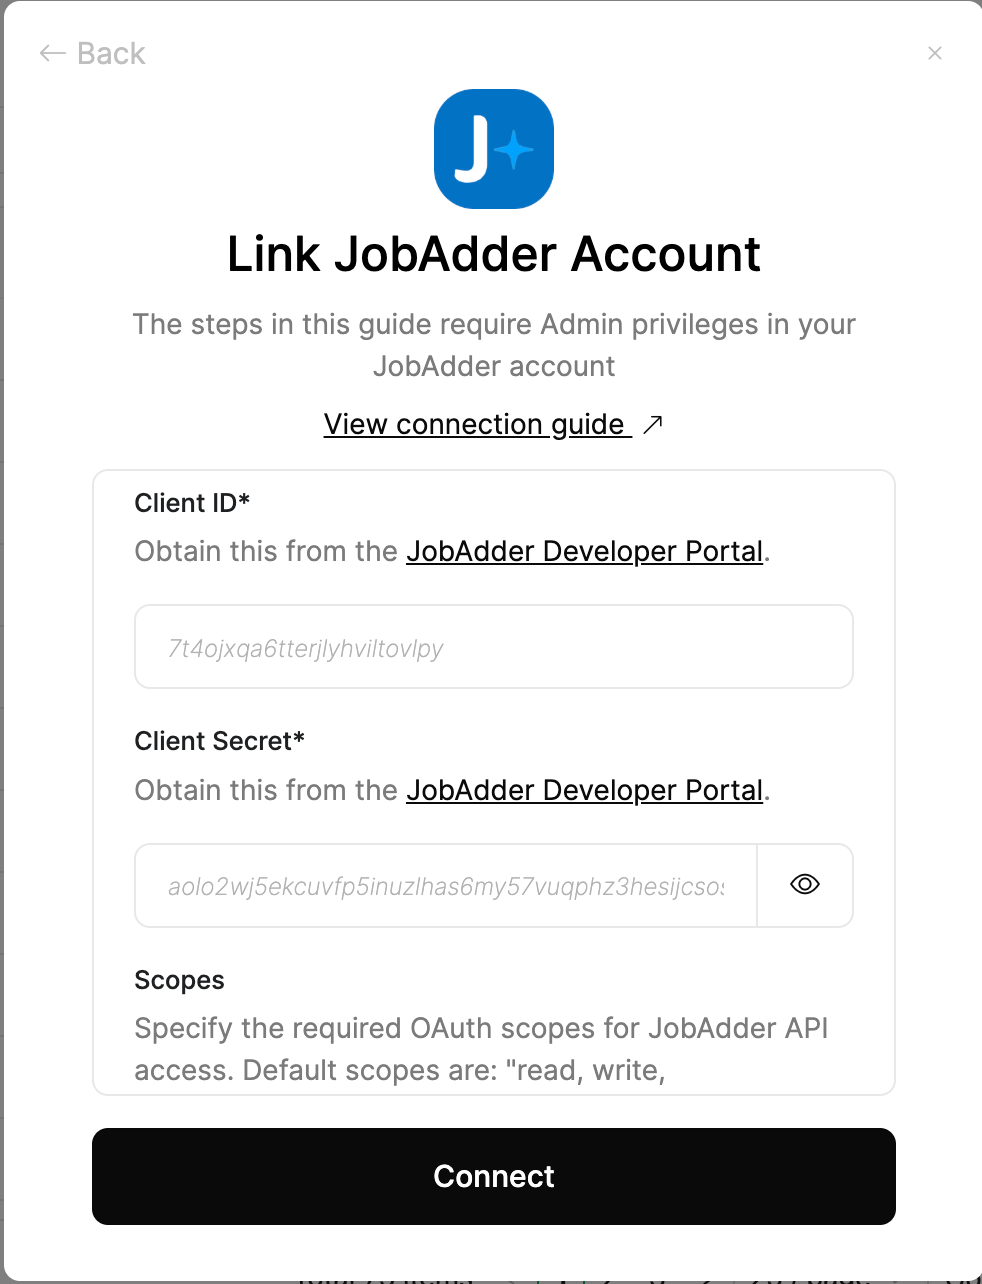
Upon reaching the Link Account page, enter the credential(s) from the previous steps:
Client ID
Client Secret
Scopes (optional)
In the Scopes field, you can enter a space-separated list of scopes.
The full list of available scopes can be found at JobAdder API Scopes.
If no scopes are provided, the following defaults will be applied: read, write, offline_access.
Proceed by clicking the Connect button.
2
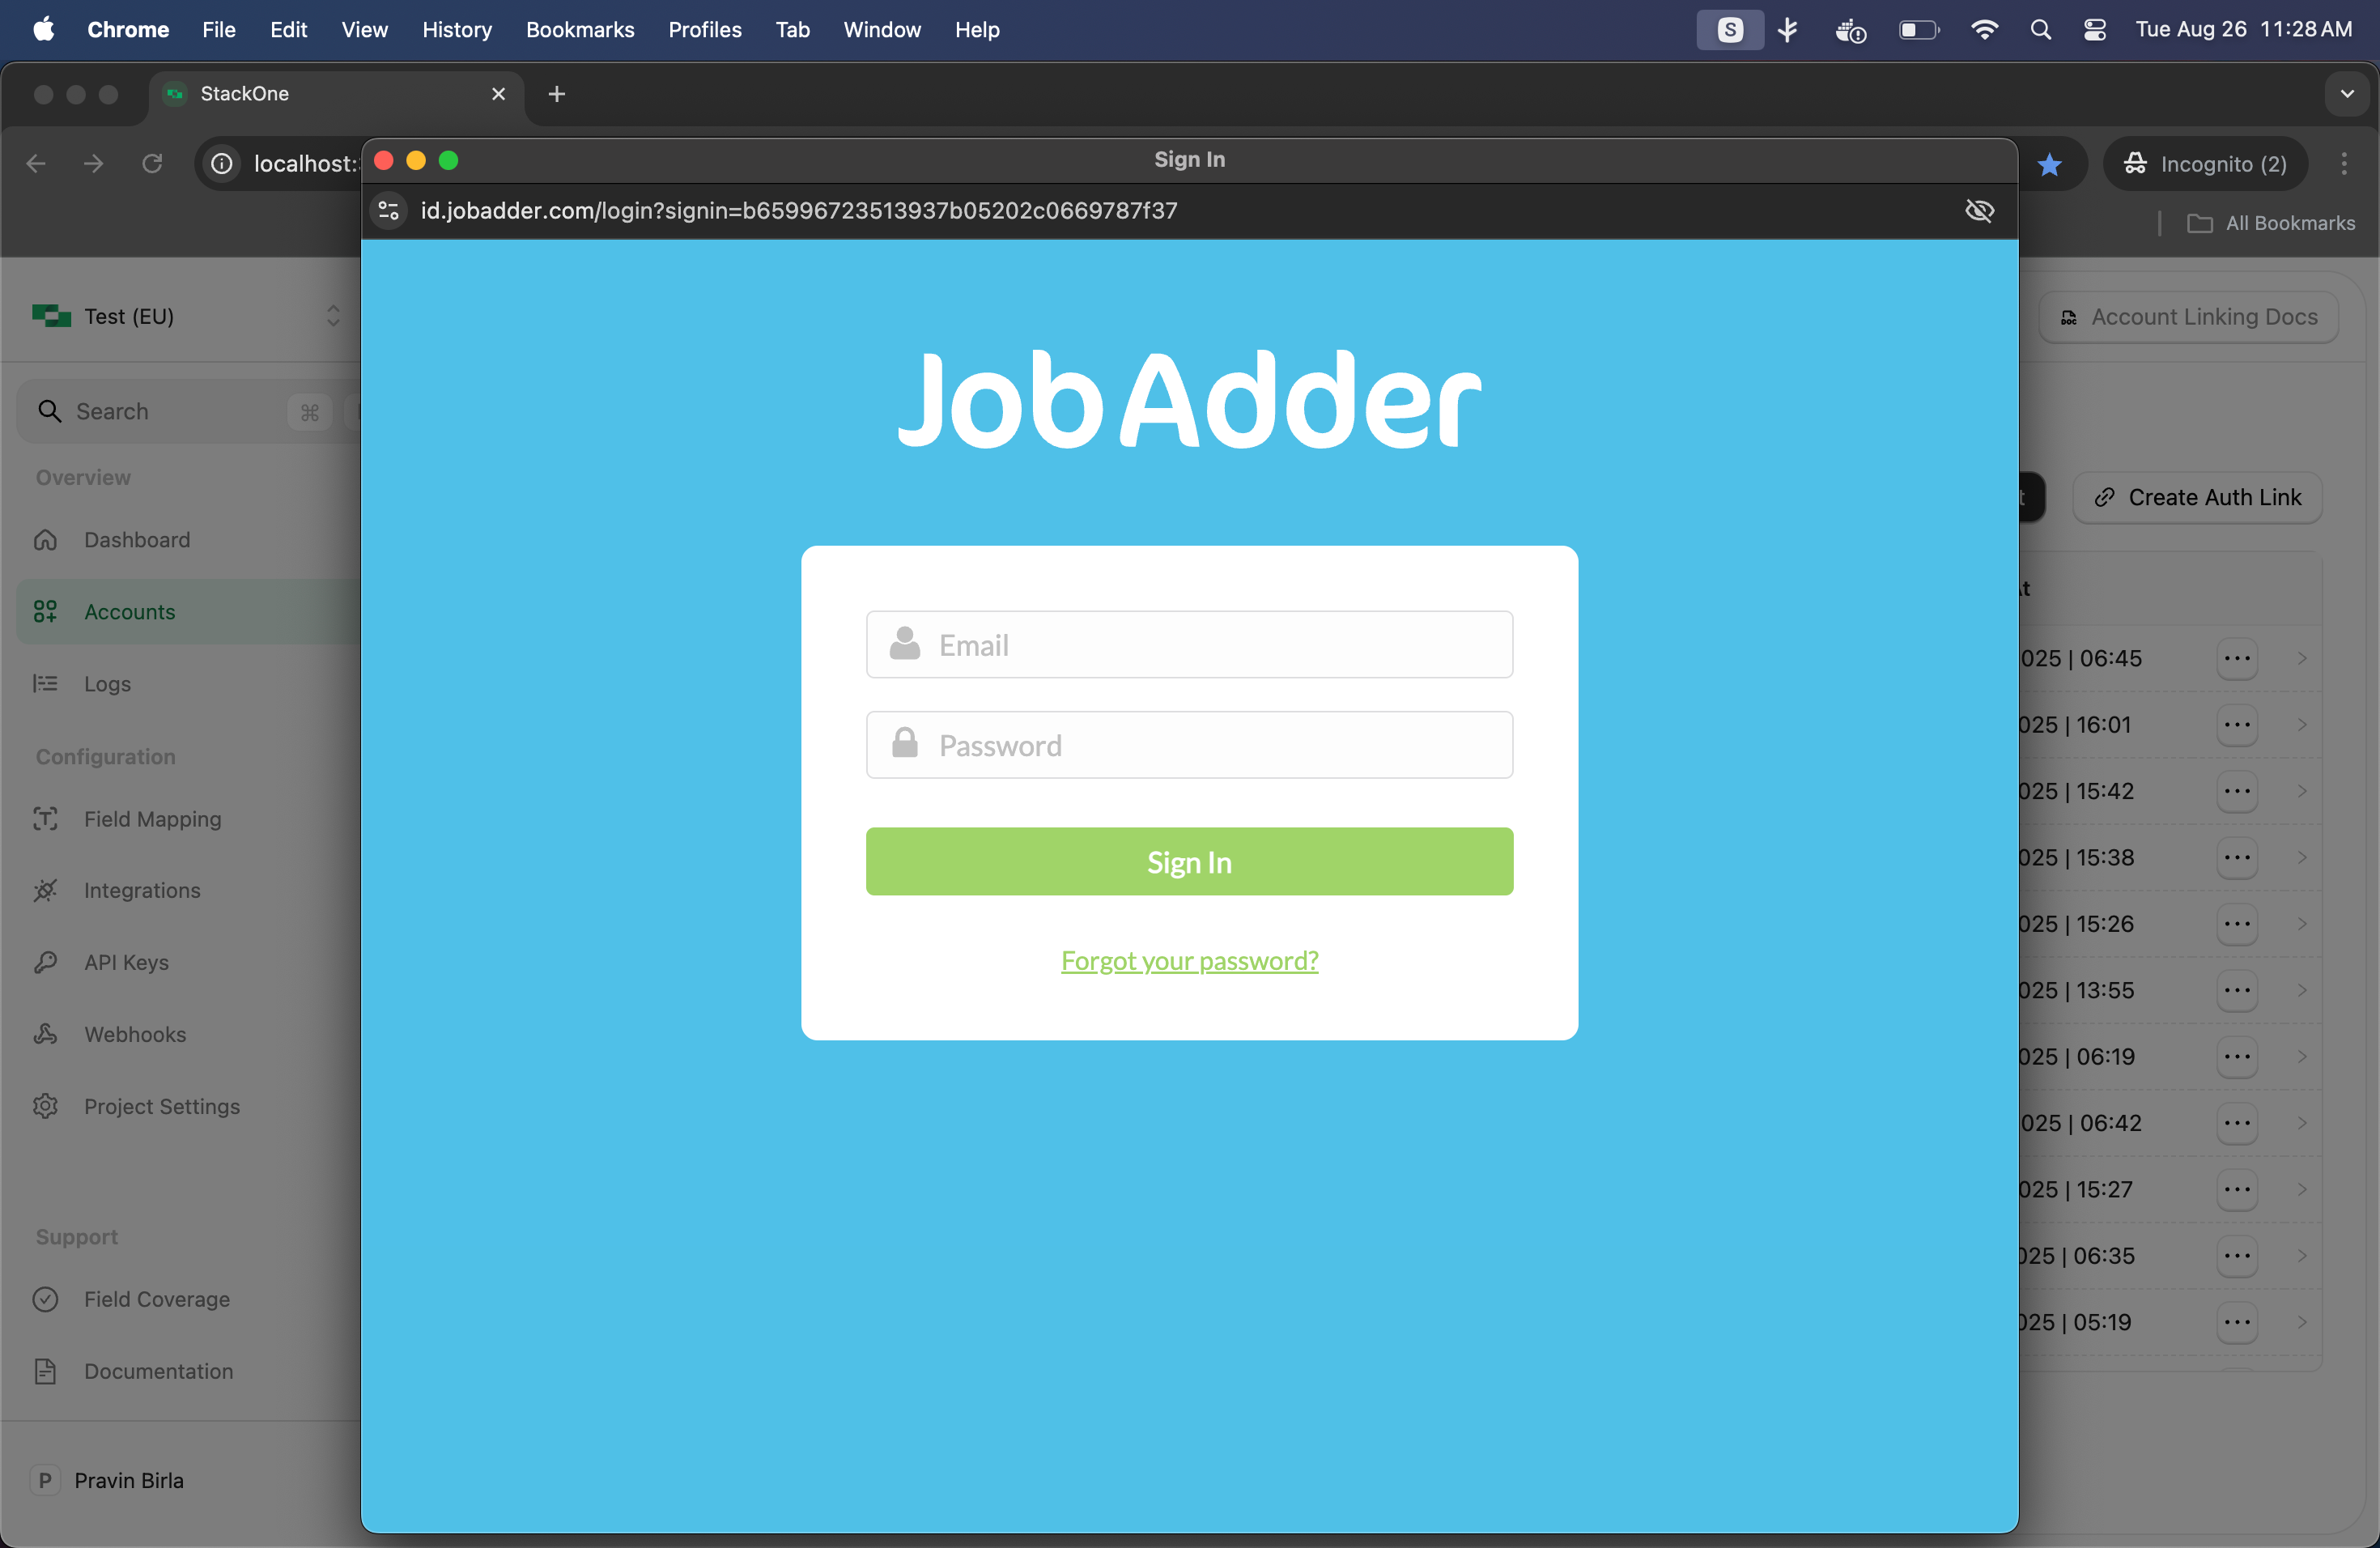
Login to JobAdder
If you are not already logged in, you will be prompted with the JobAdder login window.
Enter your JobAdder credentials and click Sign In.
This step is automatically skipped if you are already logged in.
3
Authorize Application
A window will appear with details of the specified application. Click Accept to authorise the application for this integration.

Congratulations, you’re all set! If you face any issues with the steps mentioned above, please contact your account manager.
Available data from the provider:
Applications
Candidates
Interview Stages
Job Postings
Jobs
Rejected Reasons